ServicesDrywall Finishing
Drywall Finishing in Garden City
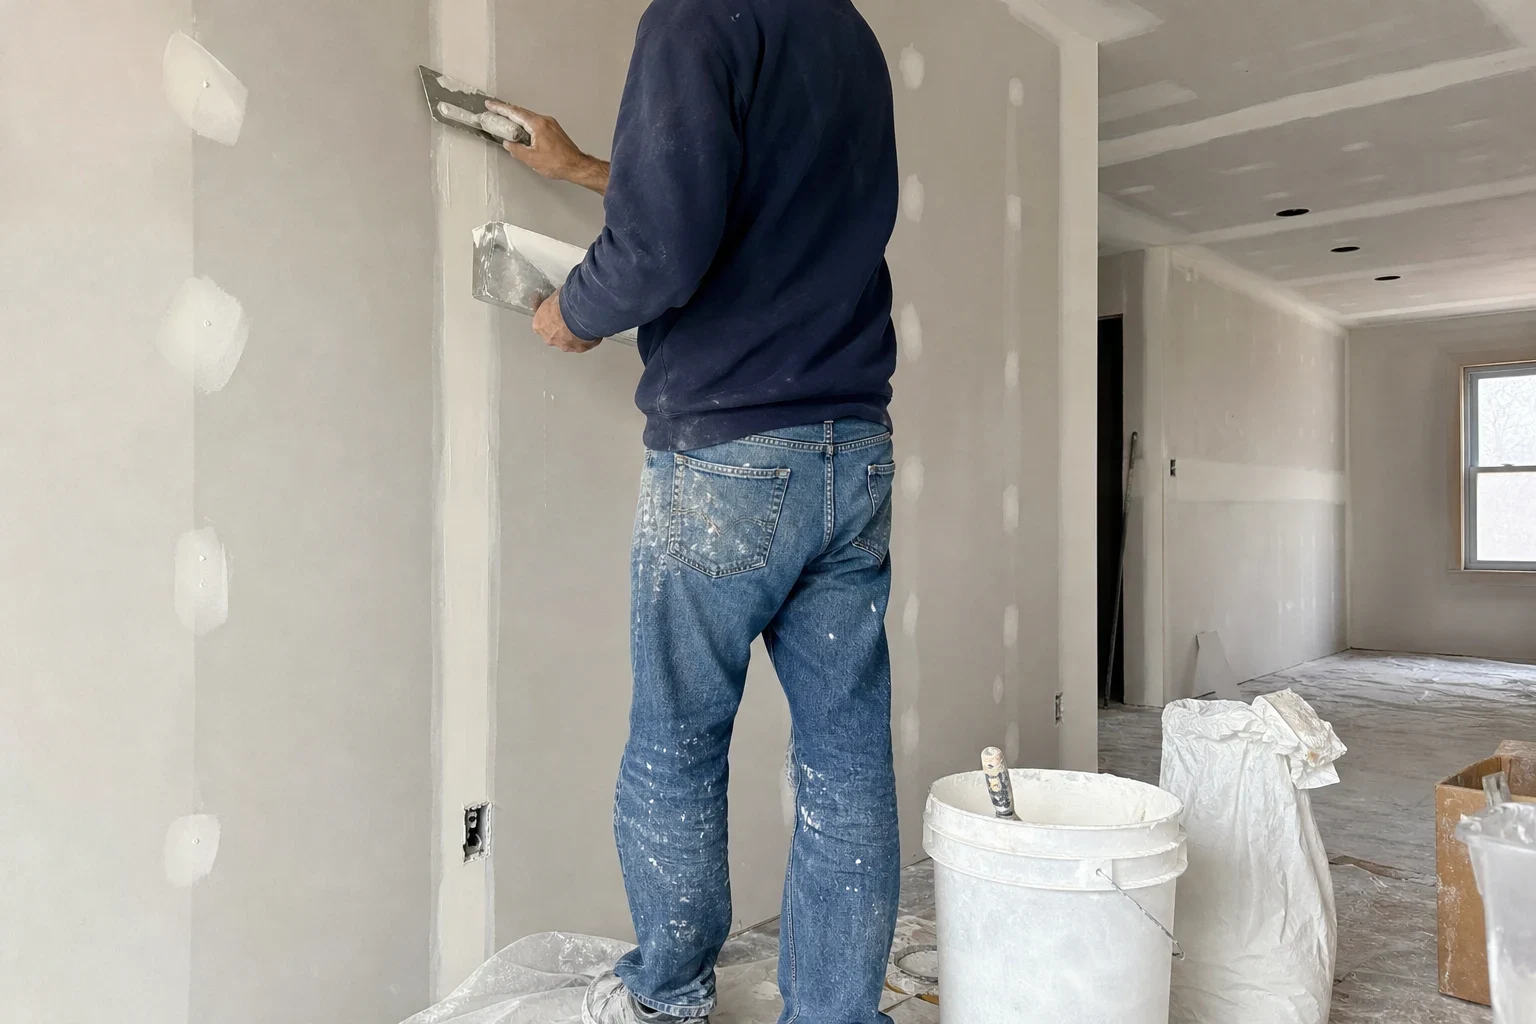
We bed tape, build up joint compound and sand between coats until joints, fasteners and corners vanish under paint. You get a flat surface at the right finish level, a clean work area each day, and photos and notes if an insurance claim is involved.
What finishing does and why it shows
Hanging drywall gets the boards onto the framing. Finishing covers the rest: paper tape pressed into a bed of compound at every joint, fastener heads spotted over, bead fastened to outside corners, then thin coats of joint compound, each one spread wider than the last. Done well, a painted wall reads as one continuous plane. Done poorly, you see ridged seams, crowned joints and dimpled screw heads every time light rakes across the wall.
We finish to a stated level, not a vague promise. Level 4 suits most painted walls with flat or eggshell paint. Level 5 adds a full skim coat over the entire surface, which is the right call for glossy paint, tall walls lit by big windows, or ceilings where low-angle light exposes every flaw.
If a leak or other covered event led to the new drywall, we keep a record of each stage so your adjuster can see what was replaced and how it was finished. We explain the steps of a claim, but the coverage decision stays with your insurer.
What our finishing work includes
Taping and embedding
Flat joints get paper tape bedded in compound. Inside corners get folded paper tape or a composite corner tape so they stay straight. Paper tape resists cracking better than mesh on long seams, so we reserve mesh for setting-type compound where it belongs.
Corner bead and trims
We install metal or paper-faced bead on outside corners and L-trim where drywall meets a window jamb or a different material. Paper-faced bead holds compound better and is less likely to crack along the edge later.
Fill and finish coats
The first coat is often a setting-type compound that hardens chemically and shrinks very little. Follow-up coats use a lighter topping or all-purpose mud, each one feathered wider so the joint blends into the flat board.
Skim coating for Level 5
A thin coat of compound over the whole surface evens out the difference between paper face and taped joints. That difference is what causes flashing, where seams show through as dull or shiny stripes after painting.
Sanding and dust control
We sand between coats with fine-grit screens and sanding sponges, using vacuum-attached sanders where we can. Floors are covered, doorways are sealed with plastic, and we clean up before we leave.
Primer-ready handoff
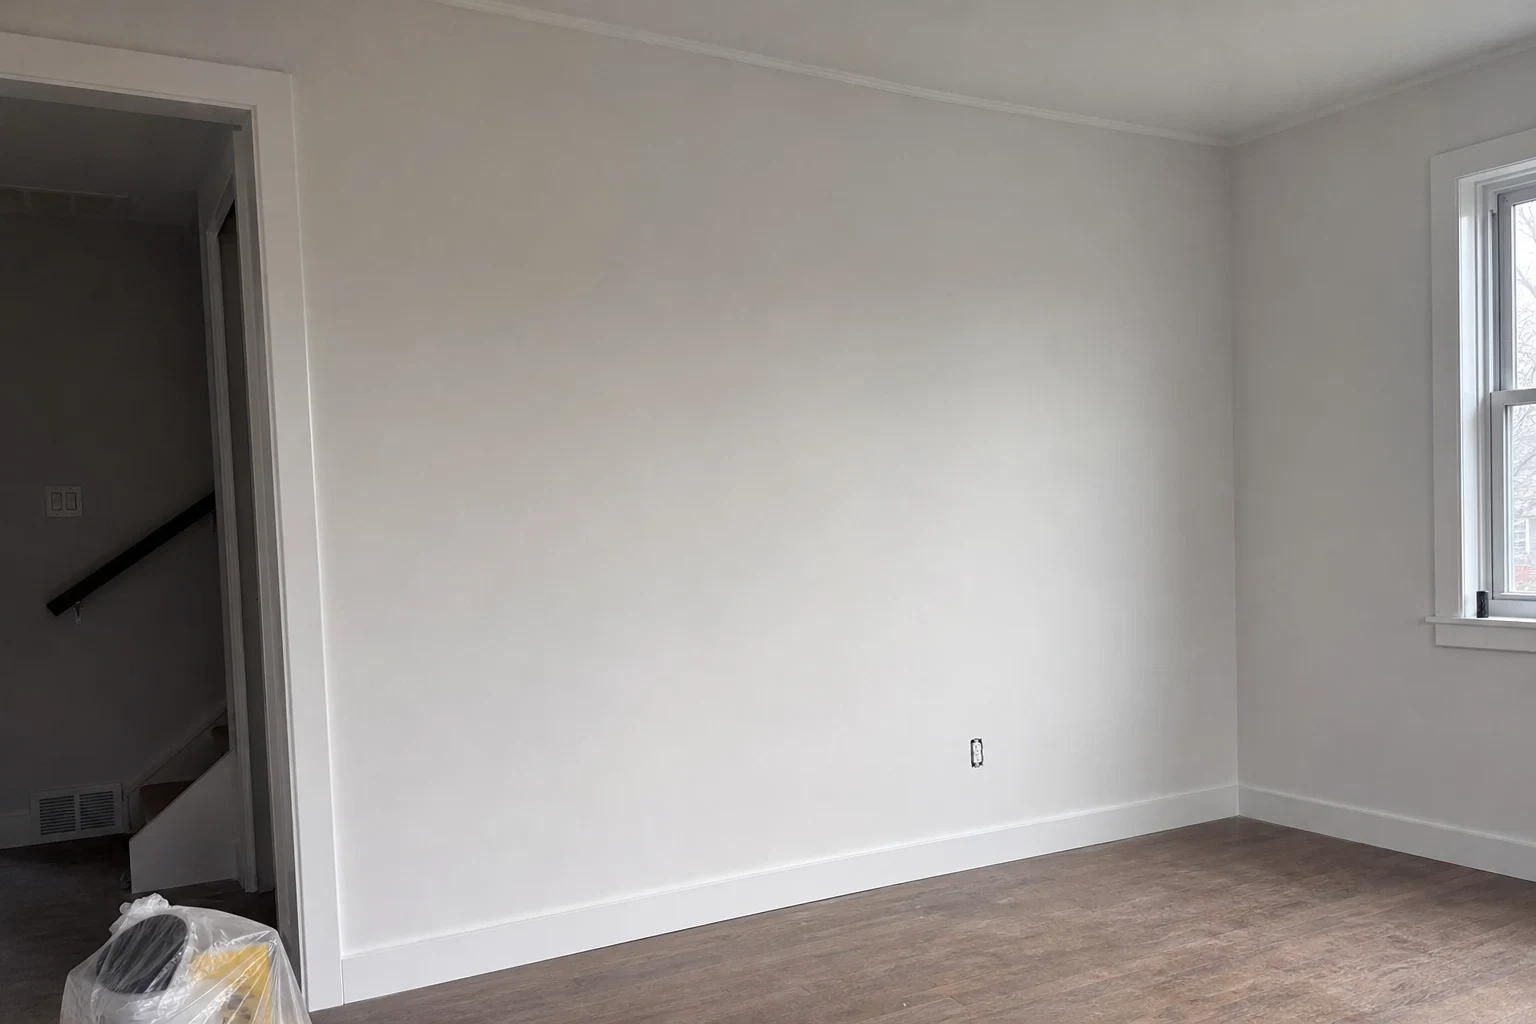
We finish with a check under a work light held flat to the wall. The surface should be ready for a drywall primer, and we can handle paint touch-ups on small repaired areas.
Signs your drywall needs finishing work
Visible seams after painting
Lines that show at every joint usually mean too little compound, not enough feathering, or no primer over porous mud.
Cracked or bubbling tape
Tape that lifts or blisters was bedded with too little compound underneath. Paint will not fix it. The loose section has to come off and a fresh strip gets bedded in its place.
Screw pops and dimples
Fasteners driven too deep or pushed out by framing movement leave round bumps or craters. Each one needs to be reset and recoated.
New boards left bare
After a leak repair or a remodel, hung drywall with no finish is only half the job. Paint will not hide raw joints.
Dented or wavy outside corners
Damaged corner bead catches light and chips easily. Replacing the bead and recoating gives you a crisp edge again.
The steps of a finishing job
- 1
Look over the room and pick a level
We check the boards, the room's lighting and the paint you have in mind, then suggest Level 4 or Level 5. When insurance is part of it, we photograph the current condition before touching anything.
- 2
Cover and seal the room
We lay drop cloths or rosin paper on the floors, move or cover furniture and seal doorways with plastic so dust stays where we are working.
- 3
Tape, bead and the first coat
We tape the joints, bead the corners and spot the fasteners. On many jobs, setting compound lets the next coat go on the same day.
- 4
Coats two and three
Every coat goes on thinner and wider, with a light sanding between. Humid Long Island summers can slow the drying of all-purpose mud, so we schedule return trips with that in mind.
- 5
Last sanding, inspection and cleanup
We sand everything smooth, check it under low-angle light, correct anything that shows and vacuum the room. The surface is left ready for primer.
What moves the price of drywall finishing
Finishing is priced by the work the surface needs, not just its size. We look at the room before quoting and break the estimate into clear line items so you can see where the cost comes from. If part of the job is tied to a claim, that breakdown is easier for an adjuster to review.
- Finish level
- Level 5 adds a skim coat over every square foot, which means more material, more drying time and more sanding than Level 4.
- Square footage and layout
- A wall with many corners, soffits, arches or window returns needs more bead and more careful work than a flat run of the same size.
- Ceiling height and access
- Ceilings and tall stairwell walls need scaffolding or stilts and take longer to coat and sand evenly.
- Condition of the hanging
- Boards hung with wide gaps, poorly placed seams or overdriven screws need extra filling and repair before finishing can start.
- Number of visits
- Each coat must dry before the next. Weather, ventilation and the compound we use affect how many trips the job takes.
Questions about finishing
Something not covered here? (516) 518-4638
How do Level 4 and Level 5 finishes differ?
At Level 4, joints and fasteners get three coats and are sanded smooth, which works for most walls painted flat or low-sheen. Level 5 adds a thin skim coat across the whole surface. We suggest it for semi-gloss paint, strong light from the side or big ceilings where small texture differences would be visible.
How long will finishing take?
Most rooms take several visits spread over a few days. Each coat has to dry completely first, because mud laid over a damp coat usually shrinks and cracks. Setting-type compound cuts the wait on the first coats, and your home's humidity and airflow affect the last stretch of drying.
Will you finish drywall another crew hung?
Yes. We inspect the hanging first, since gaps, uneven seams and loose screws come through any finish. If the boards need work, we let you know before starting and put it in the estimate.
Does finishing work help with an insurance claim?
We can record the damaged area, the new drywall and every finishing stage in photos and a line-item estimate to share with your adjuster, and explain how that paperwork usually fits a claim. Your insurer, not us, decides whether the work is covered.
Will you paint once finishing is done?
The surface is left ready for primer, and we can touch up paint on small patched spots so they blend. If you plan to repaint whole rooms, we will let you know when the walls are ready.
How much mess does sanding make?
Joint compound dust is fine and drifts, so we seal doorways, cover the floors and use sanders hooked to a vacuum where we can. The area gets cleaned at the end of every day.
Get a finish level matched to your room
Describe the space, the condition of the boards and the paint you have in mind. We will suggest Level 4 or Level 5 and walk you through what the estimate covers, including any photos your claim needs.