ServicesPaint-Ready Walls
Walls Prepped for Paint, Plus Touch-Ups, in Garden City
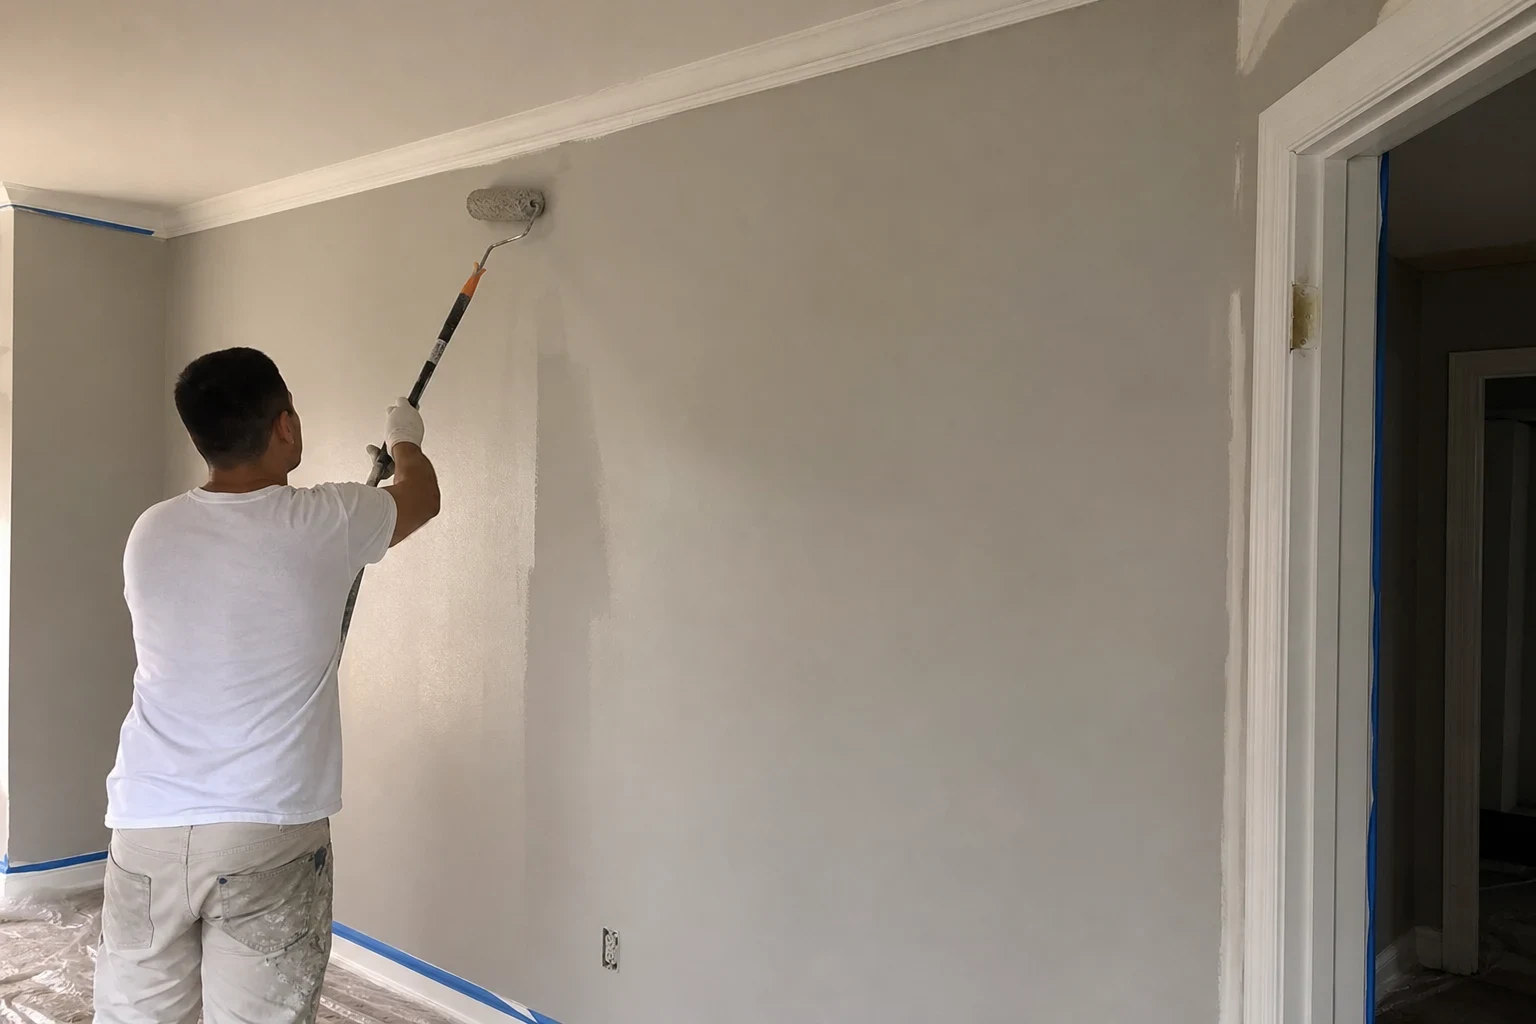
A finish coat can only be as smooth as the surface beneath it. We fix the damaged drywall, spread the joint compound out thin, sand it level and seal it with primer so paint goes on evenly. When the repair sits inside an already painted wall, we blend the touch-up until you can't spot it.
What paint-ready means and why it matters
Fresh joint compound is porous. Paint applied straight over it soaks in unevenly and dries with a dull patch, called flashing, that shows the outline of every repair under raking light. Primer seals the compound and the paper face of the drywall so they absorb paint at the same rate as the surrounding wall.
Our work stops where your finish coat begins. We fix the damage, match the texture, sand and prime, and then either blend a paint touch-up into the existing wall or hand you a surface your painter can roll without extra prep. For full rooms, we coordinate timing so the compound has cured before anyone opens a can.
If the damage came from a leak and you plan to file a claim, we photograph the wall before we cut and list the drywall, finishing and priming steps separately in a written estimate. That gives you clear records to share with your adjuster. We explain what we found; the adjuster decides what the policy covers.
What the work includes
- 01
Damage repair first
Cracks, holes, popped screws and water-stained sections are cut out or patched before any finish work. Wet or soft gypsum is replaced, not covered.
- 02
Feathered joint compound
We apply compound in thin coats and spread each one wider than the last. A feathered edge tapers to nothing, so the repair does not leave a raised hump that paint will highlight.
- 03
Texture matching
Many walls carry a light orange peel or a roller stipple from earlier coats. We match that surface so the repaired area reflects light the same way as the rest of the wall.
- 04
Dust kept in the room
Plastic sheeting goes up over doorways before any smoothing starts. Most of the work is done by hand with a fine mesh screen, and on open stretches of wall we switch to a sanding head connected to a vacuum that pulls dust away as it cuts. Before we head out each evening, we vacuum the floor and wipe down sills and baseboards so the room is usable overnight.
- 05
Primer on every repair
A drywall primer seals new compound and any exposed paper. On water-stained areas we use a stain-blocking primer so tannin and rust marks do not bleed back through.
- 06
Blended paint touch-up
When you have the original paint or its color code, we feather the paint touch-up out past the repair so the edge does not show. If the existing color has faded, we tell you before we start whether a full-wall coat will blend better.
Questions about Paint-Ready Walls?
Call(516) 518-4638Signs your walls need prep before paint
Visible tape lines
Ridges or bubbles along seams mean the paper tape has lifted from the compound. Paint will not hide them; the tape has to be cut out and re-bedded.
Nail pops in a row
Small round bumps spaced along a stud line come from fasteners backing out as framing dries and shifts. They need to be reset and refinished before painting.
Brown rings on a wall or ceiling
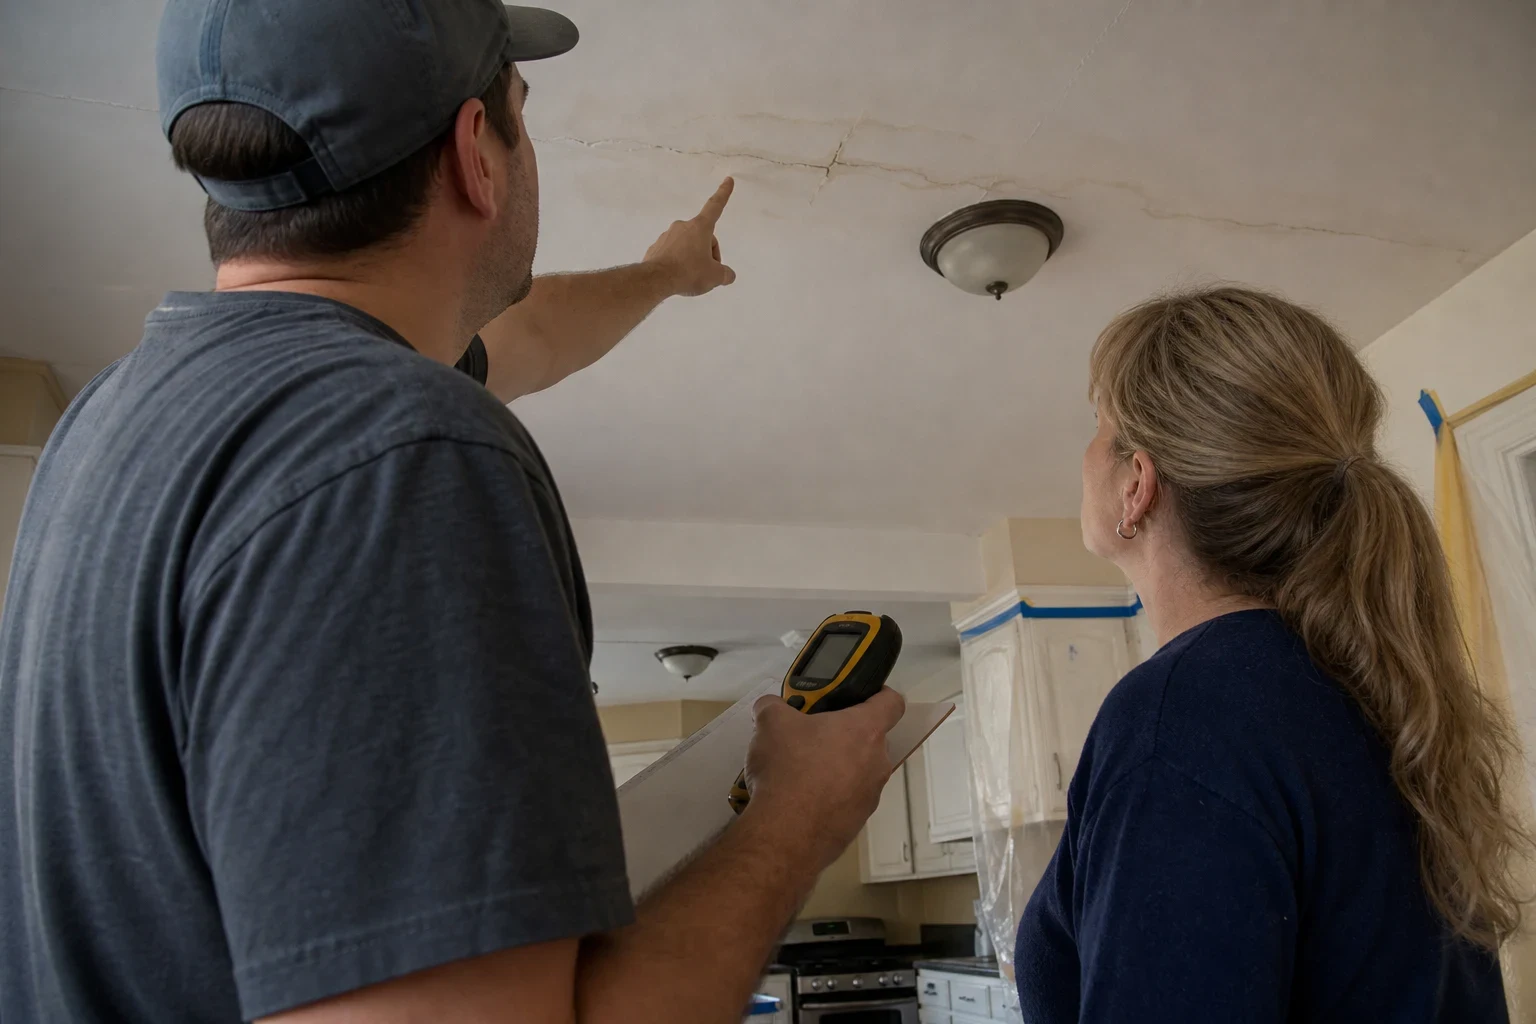
A water stain usually means the gypsum got wet. We check it with a moisture meter, because painting over damp drywall traps moisture and the stain returns.
Old patches that show through
If earlier repairs flash or look raised under a lamp, they were likely painted without primer or left unsanded. We sand them flat and reseal them.
Hairline cracks over doors
Corners of door and window openings take stress as a house settles. We tape and finish these cracks so new paint does not split along the same line.
How a job runs
- 1
Inspect and record
We check each wall, take moisture readings and photograph the damage. Your written estimate lists repair, finishing and priming as separate lines.
- 2
Cover and seal off
Drop cloths go down, furniture gets moved or covered, and doorways are taped shut. We cover the vents in the work area so dust doesn't spread to other rooms.
- 3
Fix, build up and sand
After the repair, two or three coats of compound go on, each left to dry before the next. Muggy summer weeks can stretch drying time, so we book return trips by how the compound is curing rather than by the clock.
- 4
Prime and blend
When the last coat is sanded smooth, we prime it and blend in the paint touch-up if the job includes one. Before we pack up, we look over the wall together under a work light.
What moves the cost
Price follows the condition of the wall more than its size. A small repair on sound drywall goes quickly, while a stained section that has to be cut out and dried takes more trips. We price each step separately so you can see where the time goes.
- Extent of the damage
- Surface cracks and nail pops cost less to prepare than sections with wet or crumbling gypsum that must be replaced.
- Number of compound coats
- Deep repairs need more coats and more drying time between visits. Each extra coat adds a return trip.
- Texture and wall type
- Matching an existing texture takes longer than finishing a smooth wall. Older plaster walls next to drywall repairs need extra blending work.
- Primer and touch-up scope
- A spot prime and touch-up costs less than sealing an entire wall. Faded original paint can push the job toward a full-wall coat for an even color.
Questions about paint-ready walls
Can I paint right after the drywall is patched?
Not right away. Joint compound needs to dry fully, and primer has to go on before the finish coat. We tell you when the wall is ready, which depends on the depth of the repair and the humidity in the room.
Why does my touch-up look different from the rest of the wall?
Usually the repair was not primed, or the paint has aged and changed slightly in color and sheen. Unprimed compound absorbs paint differently, so the patch looks flat. Priming first and feathering the touch-up out wide fixes most cases.
Will you help with my insurance claim for water-damaged walls?
We photograph the damage, record moisture readings and give you a written estimate that lists each step. You can share that with your adjuster. We do not act as the adjuster or promise what your policy will pay.
Do I need to supply the paint for touch-ups?
If you have leftover paint or the color code from the can lid, that gives the closest match. Without it, we can tell you how close a match is likely to be and whether a full wall will blend better.
How much dust should I expect?
Some dust is part of sanding compound. We seal doorways, cover vents and floors, and use vacuum-assisted sanding where possible, then tidy the room before we go.
Get damaged walls ready for paint
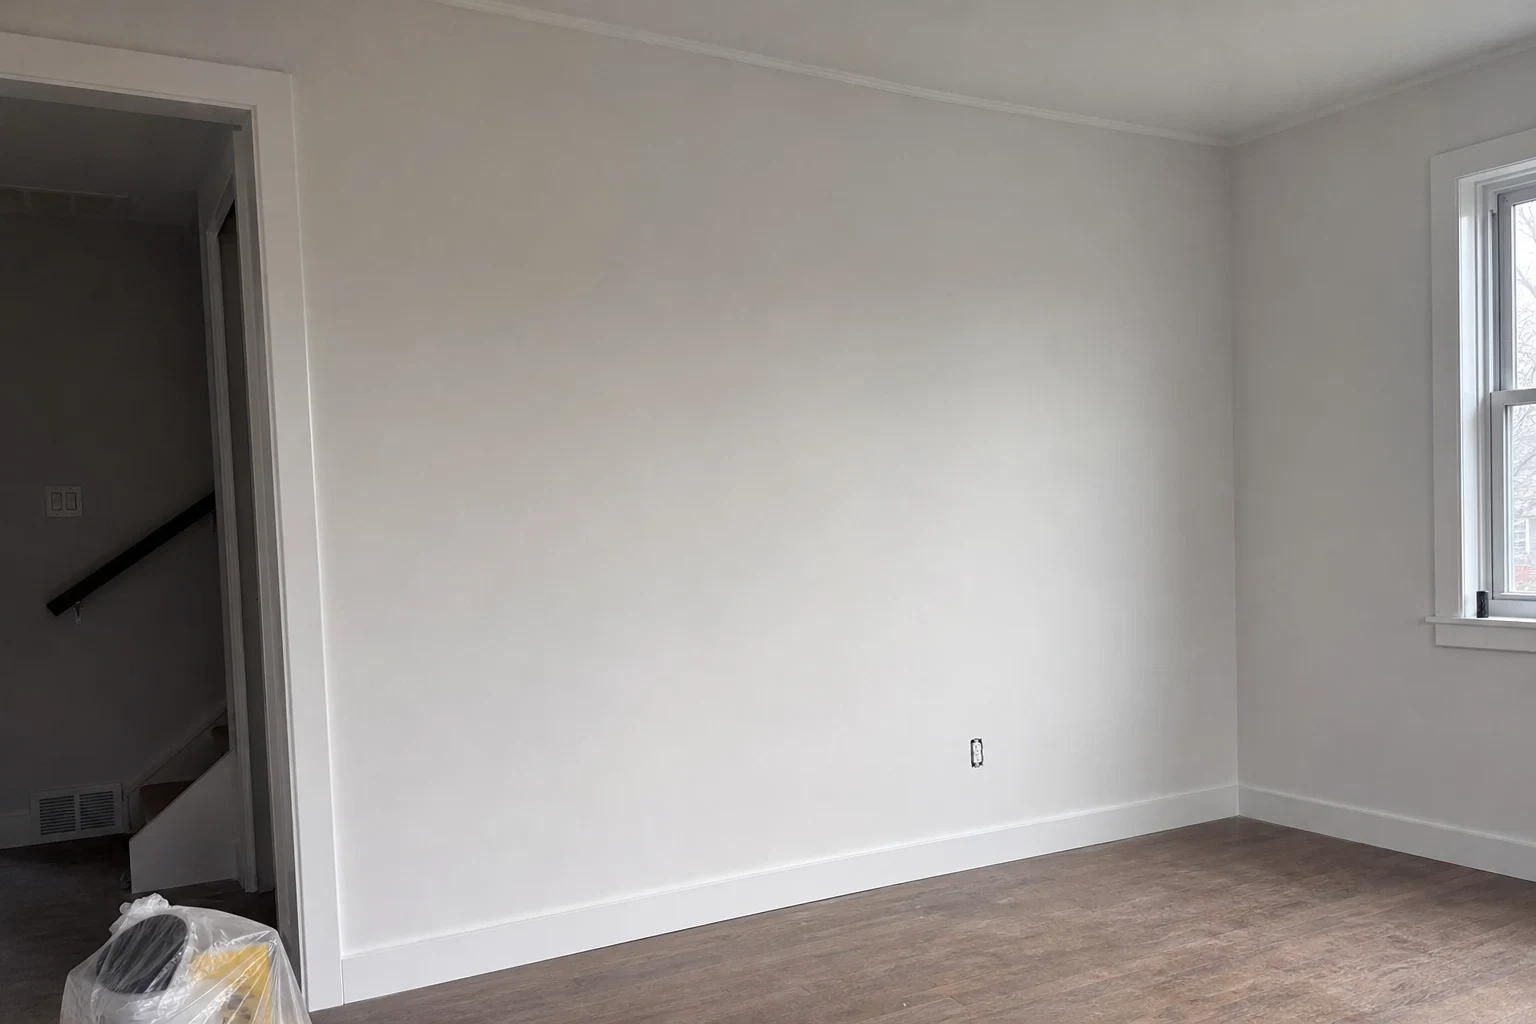
Tell us what happened to the wall and where the damage is. We will explain the repair, the prep it needs and what the estimate will cover.